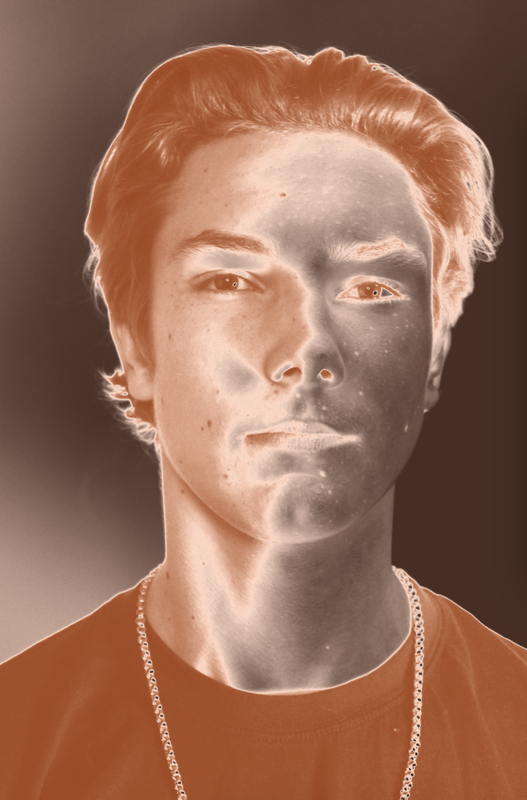
Unit 1: Foundation
This Foundation Unit involves learning how to explore and analyse photos in order for me to develop a critical and contextual understanding and gratitude of the different genres within The History of Photography.
The History of Photography
The Camera Obscura was the first camera made. It's used to create the perfect perspective. This is done in a dark space by inverting light and projecting it onto a surface through a pinhole. However, the Camera Lucida was a more developed version, it was portable. This is because it used optical lenses to enlarge the image. A man called William Henry Fox Talbot who was born in England, 1800 was an English member of parliament, inventor, scientist and a pioneer of Photography. In 1939, his lack of success at sketching motivated him to invent a new apparatus that would make sketches for him automatically. Three weeks after the daguerreotypes had been invented, Talbot arranged a form of photography which would print on paper that had been made light sensitive rather than a copper plate. He expanded on this idea and in 1841 the Calotype (made using paper coated with silver iodide) was created. This is a Photograph that is developed by exposing photographic paper to light for a short amount of time to produce an advantageous negative. The image was then fixed with a chemical solution. The advantage of this process was that it could be reproduced. This meant that William Talbot became a great success and was soon rewarded with a medal from the Royal Society for his work.
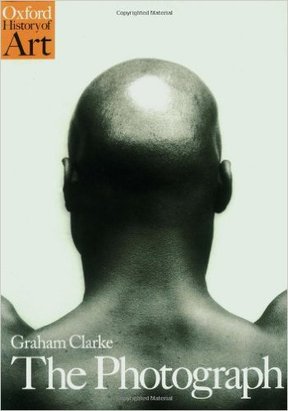
The Photograph by Graham Clarke
|
In a number of excellent discussions of major themes and genres, Graham Clarke presents a clear and concise amount of the photograph's historical advancement, and clears up the insights of the most interesting thinkers on the subject such as Susan Sontag and Roland Barthes. At the heart of the book is Clarke's revolutionary exploration of the main exposed areas which are- the city, portraiture, the body, landscape and reportage, along with his thorough analysis' of admirable images in conditions of their artistic and intellectual contexts.
I really enjoyed reading this book as I felt like I got to review, study and see a whole new side to the countless different types of photography aswell as Clarke's work himself. |
First Task In Class :
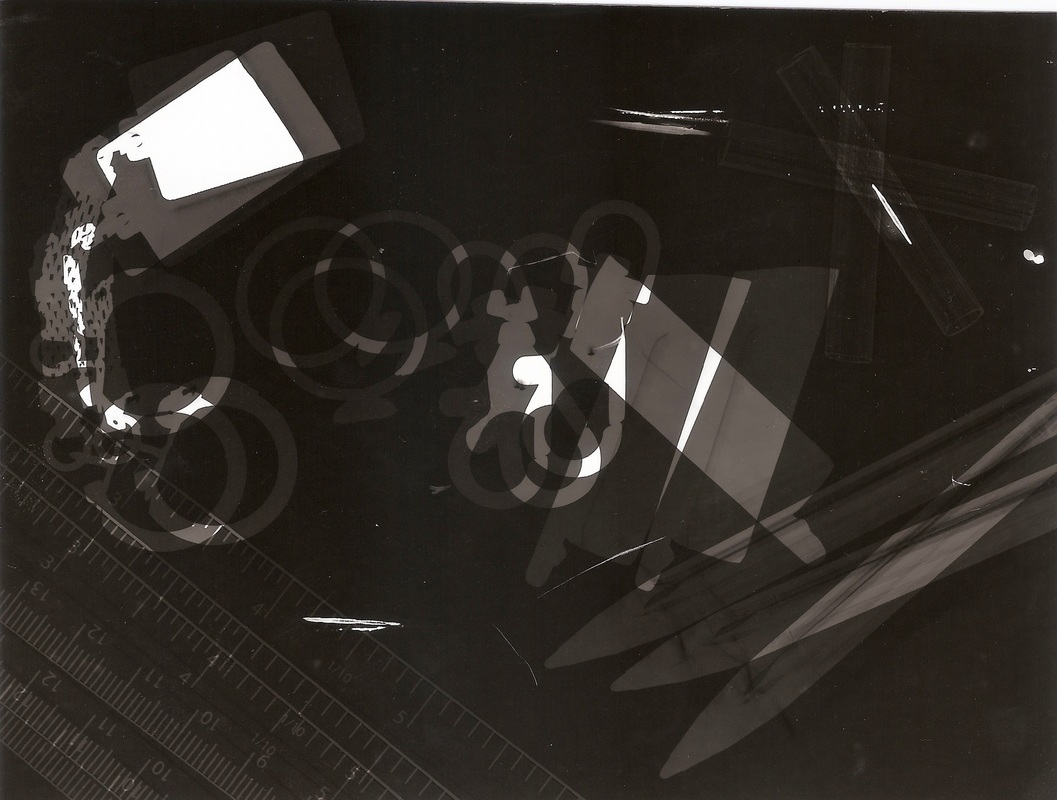
Dark Room - Photograms
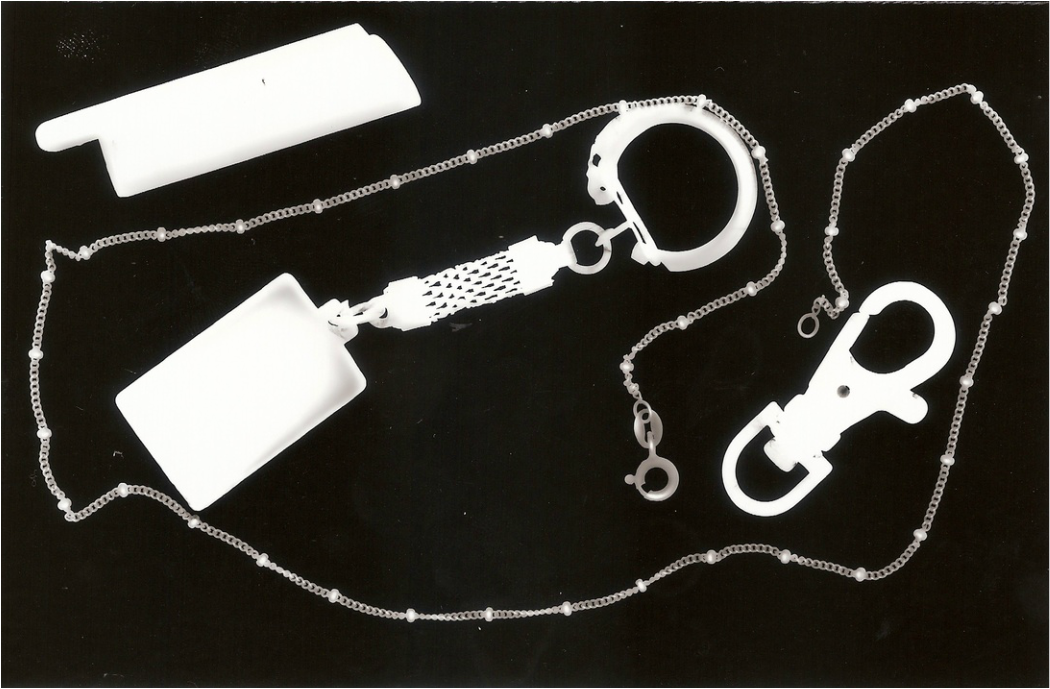
For this task, I made four different types of Photograms in the Dark Room. I made a normal Photogram, a Double/Triple Exposure Photogram, a Solarised Photogram and Painting with the Developer Photogram. My favourite type of Photogram to make was the Solarised one because I felt like the overall outcome on both of my Solarised photos were the best and nicest ones.
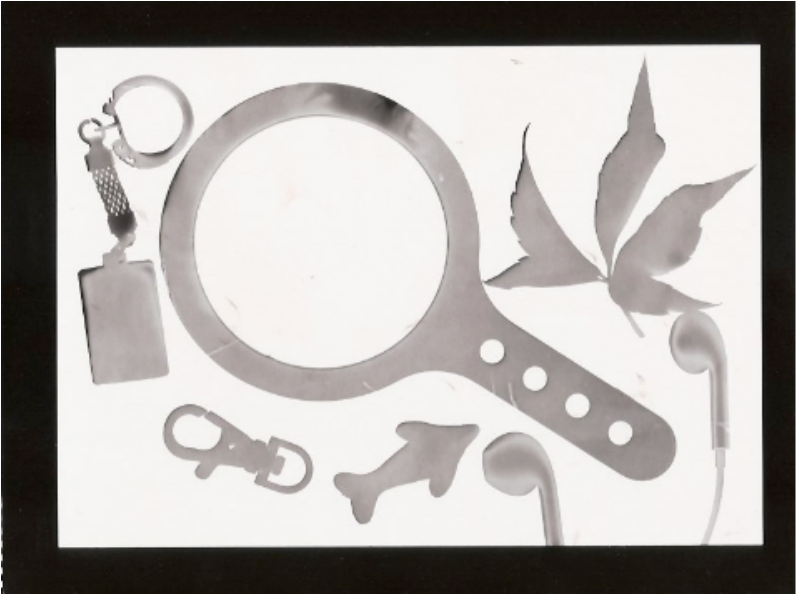
Photograms
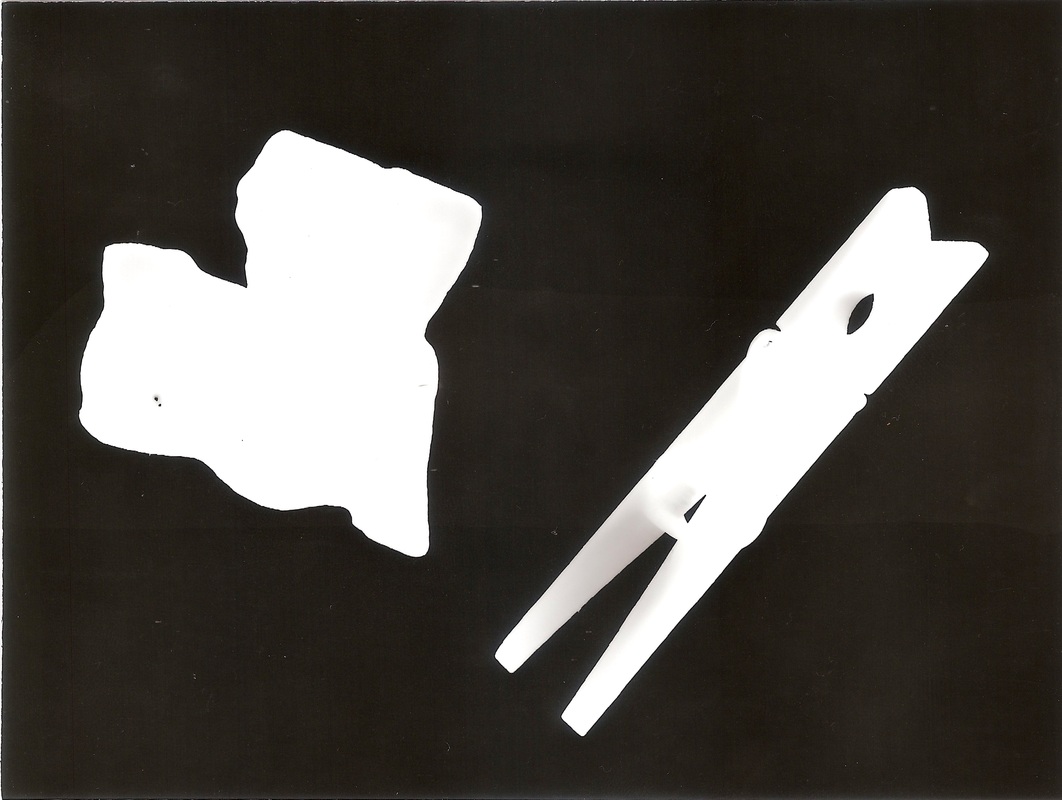
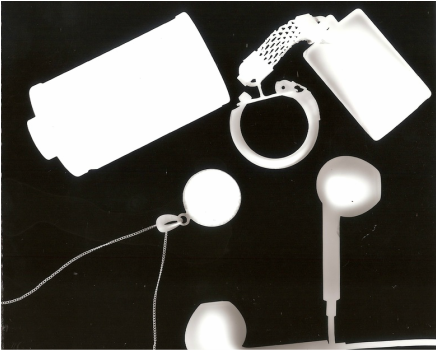
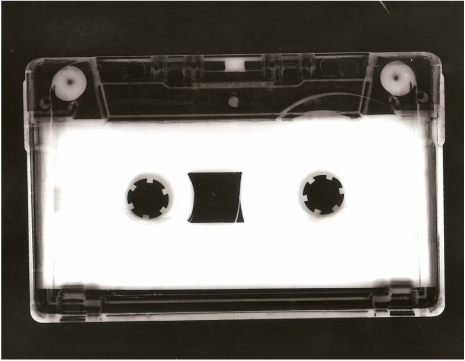
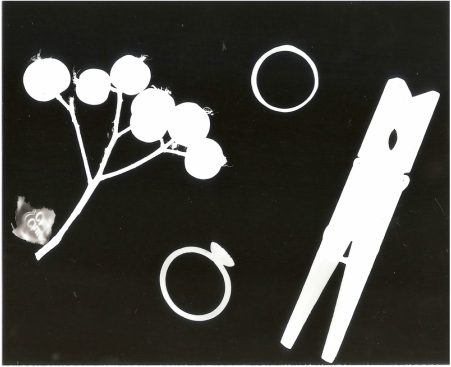
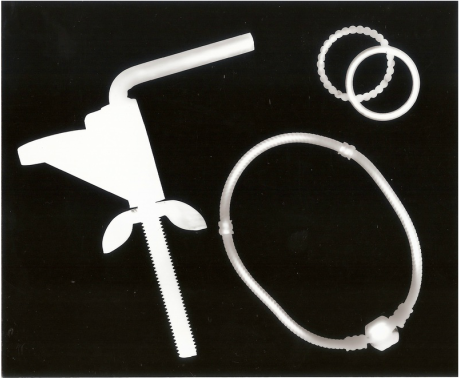
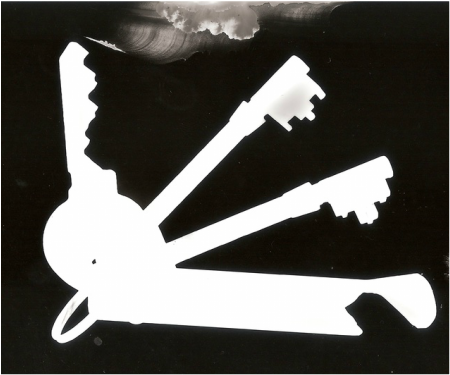
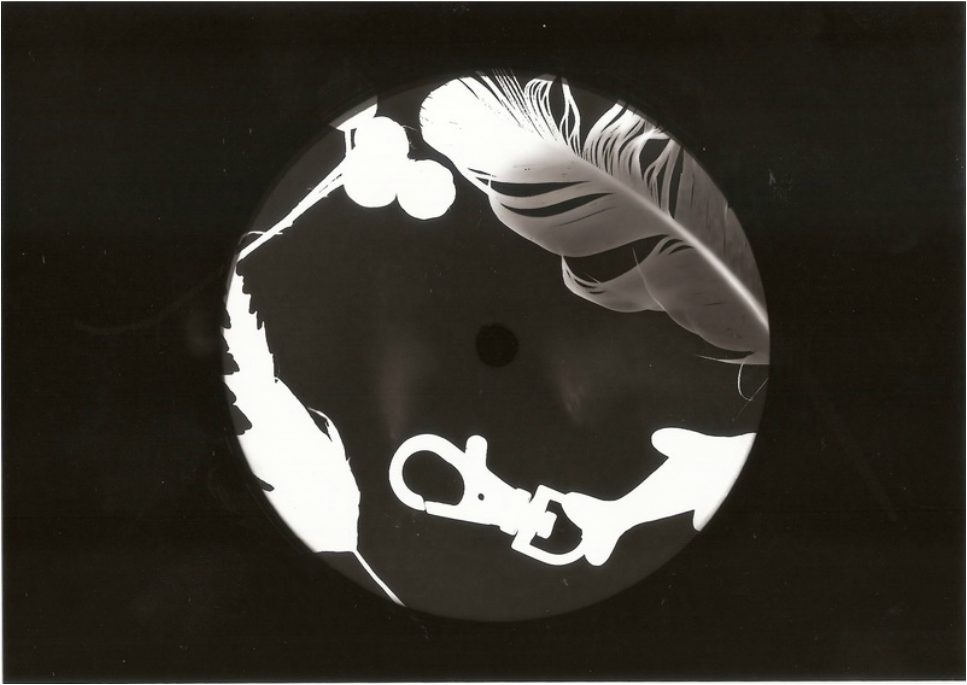
A Photogram is a photographic image made without a camera by placing objects directly onto the surface of a photo-sensitive material (known as photographic paper) and then exposing it to light. The outcome is a negative shadow image ranging in tone, depending on the transparency of the objects used. Parts of the paper that have received no light will appear white and those that were exposed through transparent or semi-transparent objects will appear grey.
PROCESS-
1) I set up the light source on the enlarger to a specific size so that it covered an area that was bigger than the paper that I used.
2) I made sure that the lights were out and the safelight was on, and at a safe distance, I arranged my objects on the paper.
3) I then switched the enlarger on and exposed the photogram for a time of 3 seconds and set the lens at a low aperture.
4) I then took the objects off the paper and placed the paper in the developer (for 2 minutes), then stop bath (for 1minute), then the fix (for 2minutes) and then the wash bath (for 3 minutes).
5) I then put my photogram(s) into the Drier so the liquid had been washed off and dried.
Below are my results:
|
|
|
|
|
|
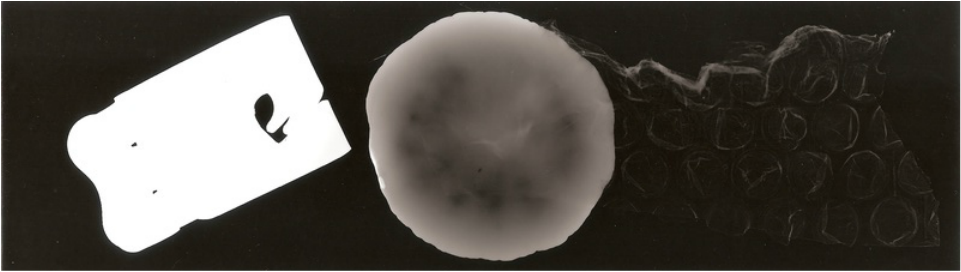
Painting with Developer
To create this look I arranged the objects and exposed the photographic paper on the enlarger for 3 seconds. I then got a paint brush and instead of placing the paper into the developer bath I dipped the paintbrush into the developer and then painted in some random designs spread out on the paper so only some of the objects came through on the paper. Once I had done this I carried on the usual process of making photograms so I put the paper into the stop and fix baths, put it into the cold water bath and then dried it.
Below are my results:
Below are my results:
|
|
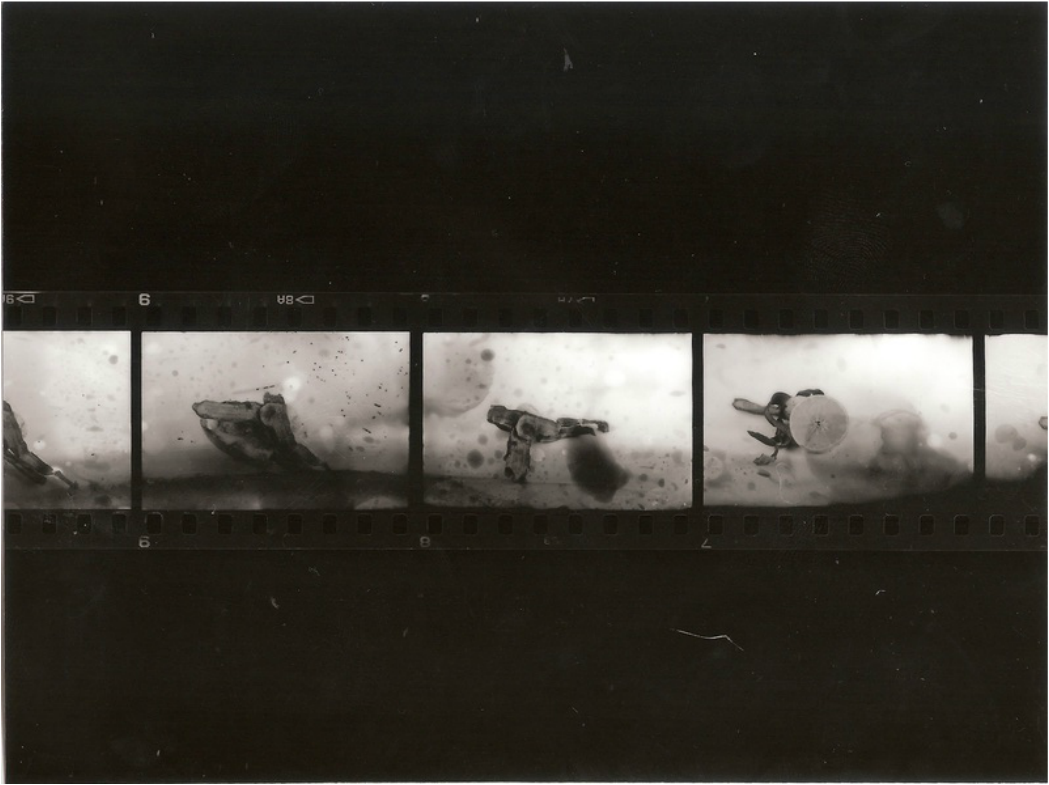
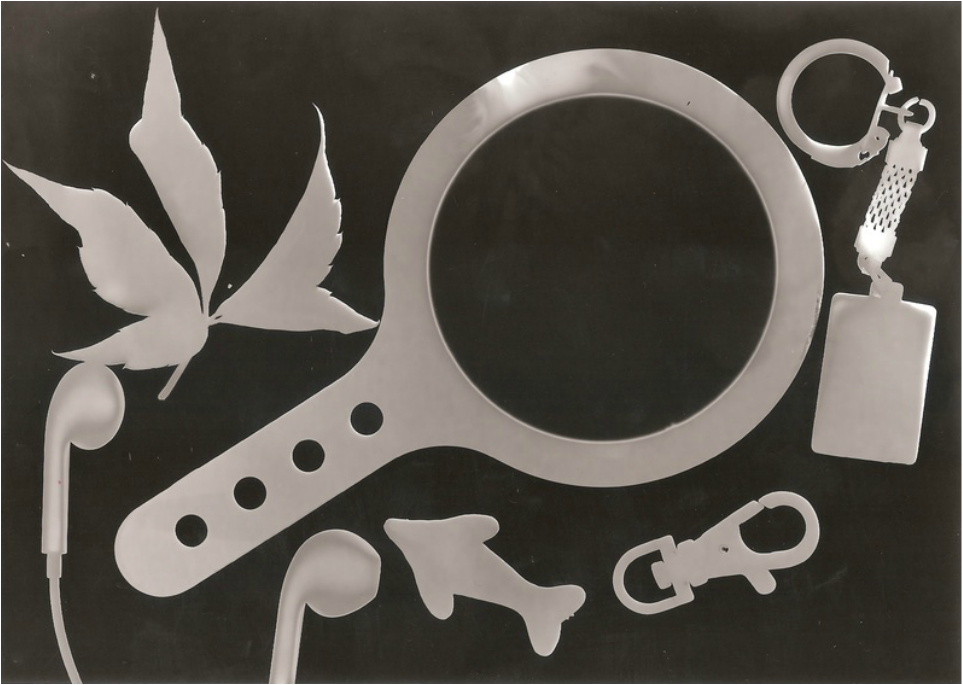
Double/Triple Exposure
In order to create this double/triple exposure look, I had to move my objects around the photographic paper three times after exposing the paper for 1 second, 2 seconds and then 3 seconds. I added on a second longer to the amount of time that the image was exposed to light because this meant that each movement of the objects would be a different shade and it would create an interesting contrast. Once I had done this, I put the paper into the developer bath for 2 minutes, the stop bath for 1 minute and the fix bath for 2 minutes.
Below are my results:
Below are my results:
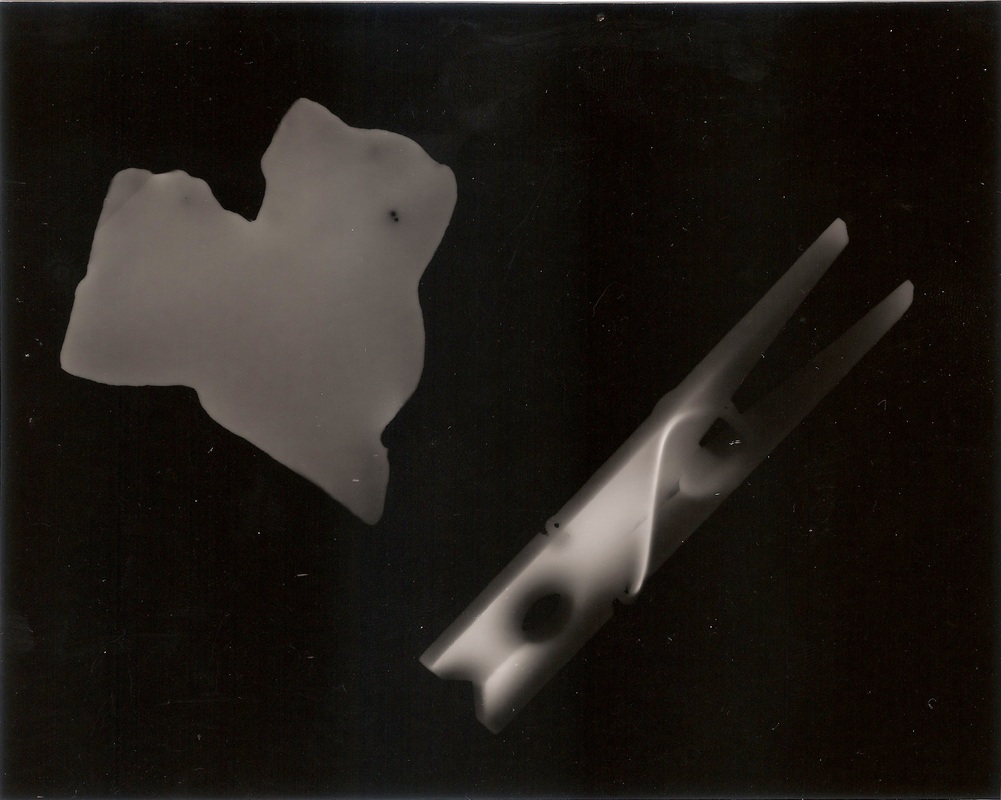
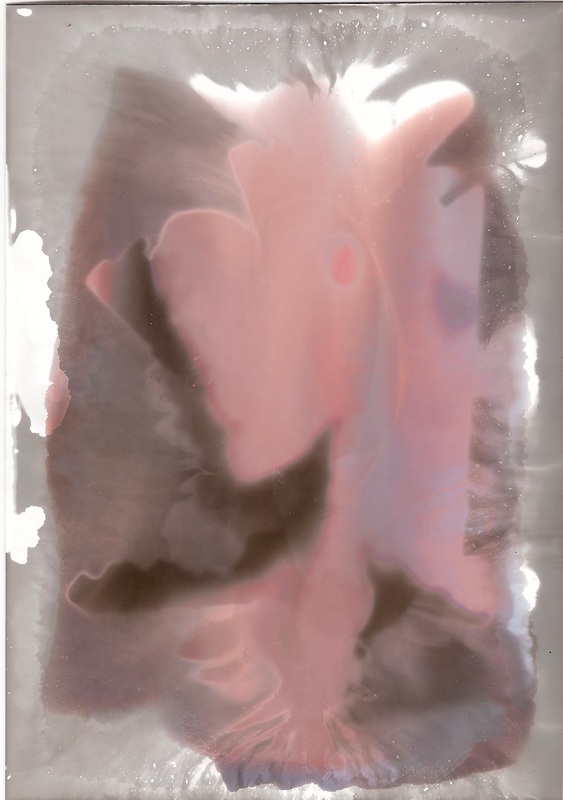
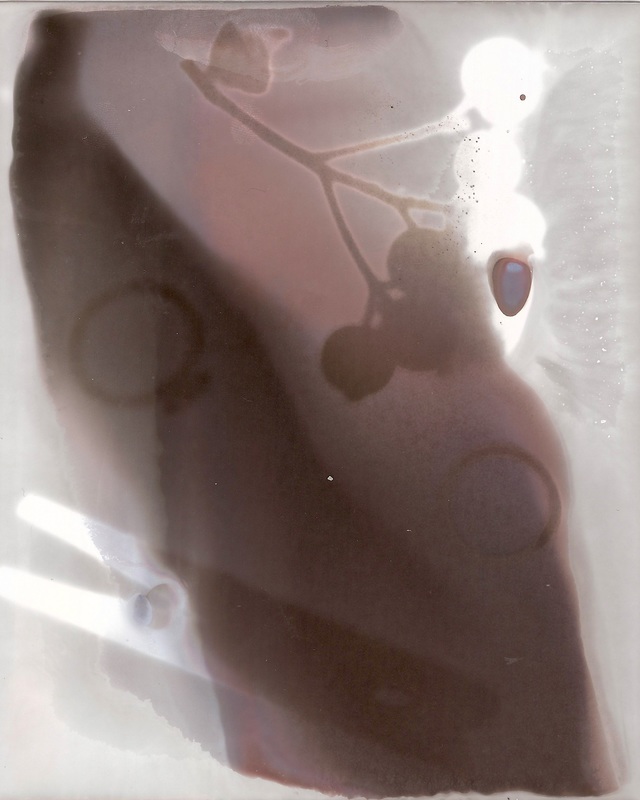
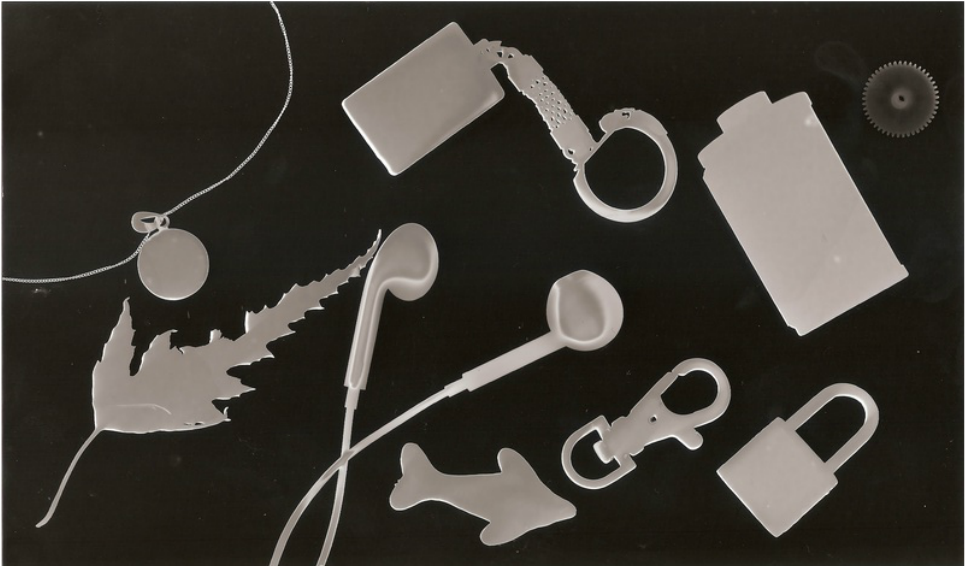
Solarisation
To create this Solarisation look, I placed my objects on the photographic paper in a way completely to my choice and then exposed it to light for 3 seconds. I then placed the paper into the Developer bath until I started to see the objects prints appear, once this happened I took the slightly developed image out and re-exposed the paper on the enlarger for a further three seconds. Once I had done that I performed the same process as you do when making a normal photogram which is putting the paper into the developer for 2 minutes, the stop for 1 minute, the fix for 2 minutes, the cold water bath for 3 minutes and then put the paper through the drier. Although the process is pretty similar to the one when making an ordinary photogram, the outcome is different because the paper is being exposed twice, the second time with the print already being slightly developed. The overall outcome is also different as the tone of the white areas that are the objects become grey.
Below are my results:
Below are my results:
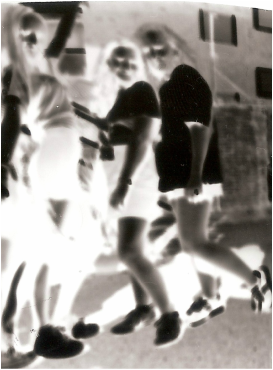
Pinhole Camera
A Pinhole camera is a simple camera but instead of a lens it has a tiny aperture, called a pinhole - effectively a lightproof box with a small hole in one side. Light from a scene passes through the aperture an then projects an inverted image on the opposite side of the box where a piece of photographic paper is placed, this is known as a camera obscura effect.
|
|
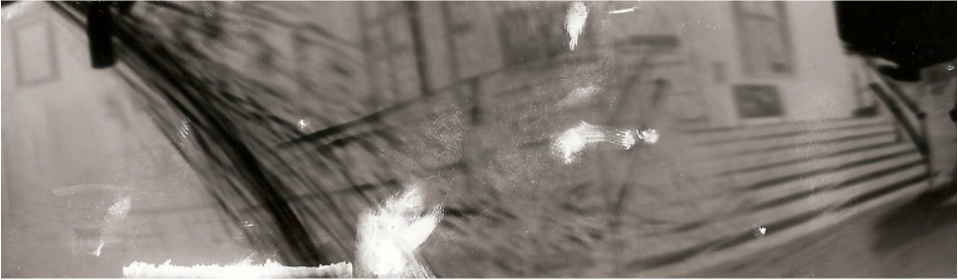
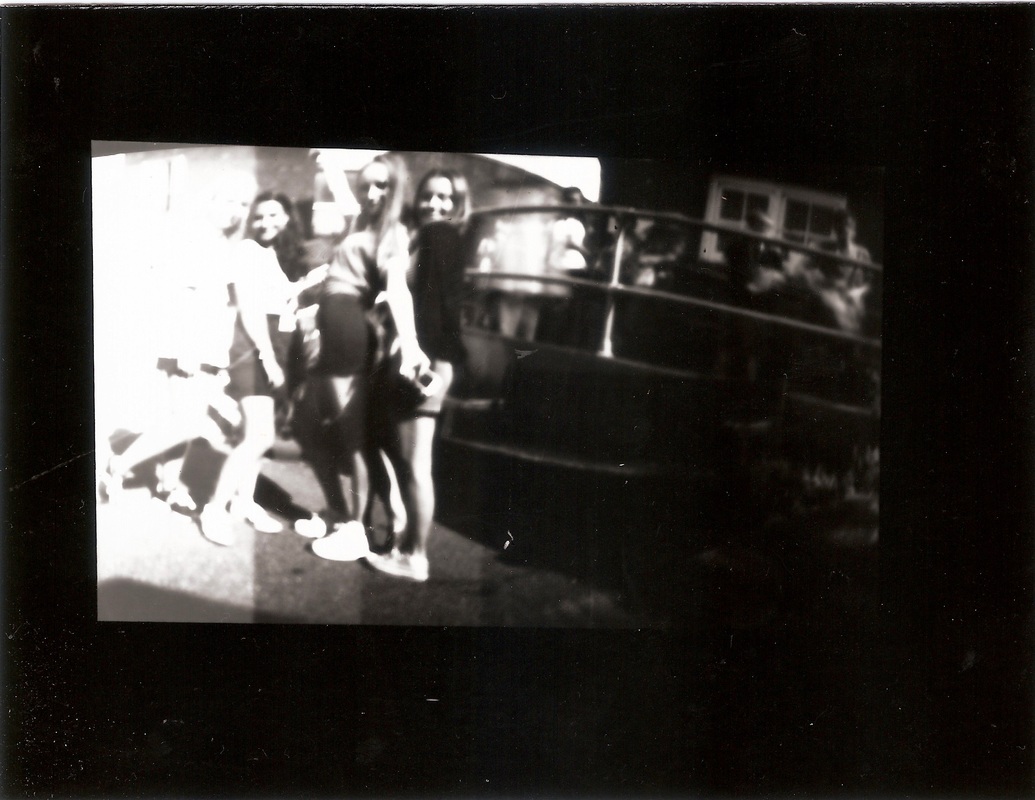
Sandwich Prints
A Sandwich Print is also known as negative sandwiching. It is a photographic technique that's created by combining two negatives or slides into the film carrier of the enlarger and printing on one piece of photographic paper as one image.
Test Strip
I decided to take a test strip of this Sandwich print as when I took the photo outside it was very bright so I didn't know how long I should've exposed the image for in the darkroom at the time. I set the enlarger up two extra seconds after uncovering about 2cm of the photo with a plain piece of paper after each time I exposed the photogram with the times of 2 seconds, 4 seconds, 6 seconds, 8 seconds and 10 seconds. Once I had done this and gone through all the process with the developer, stop and fix baths, I went to the drier and then looked at the photo and decided which part of the image I liked best and felt that was the best lit. In this instance, I liked the part of the print that had been exposed for 6 seconds. So, I went into the darkroom again and got a new piece of photographic paper and placed the original pinhole print onto that piece of paper and exposed the image for 6 seconds.
Below is my Test Strip-
Two Final Prints
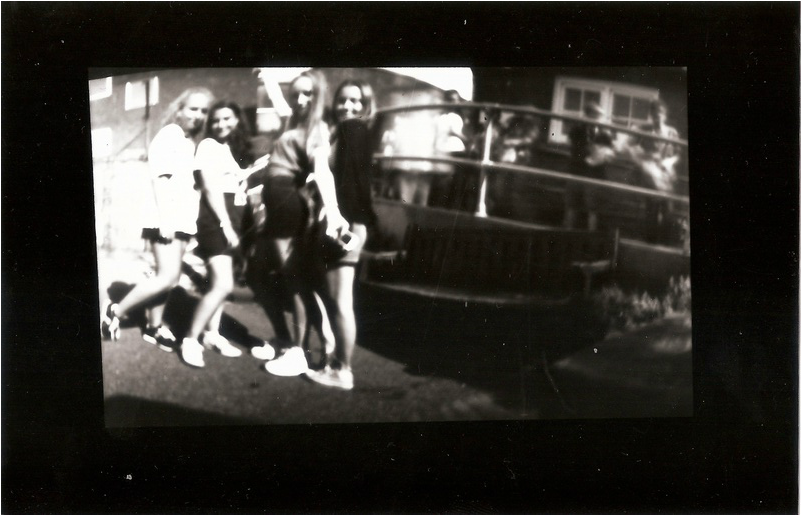
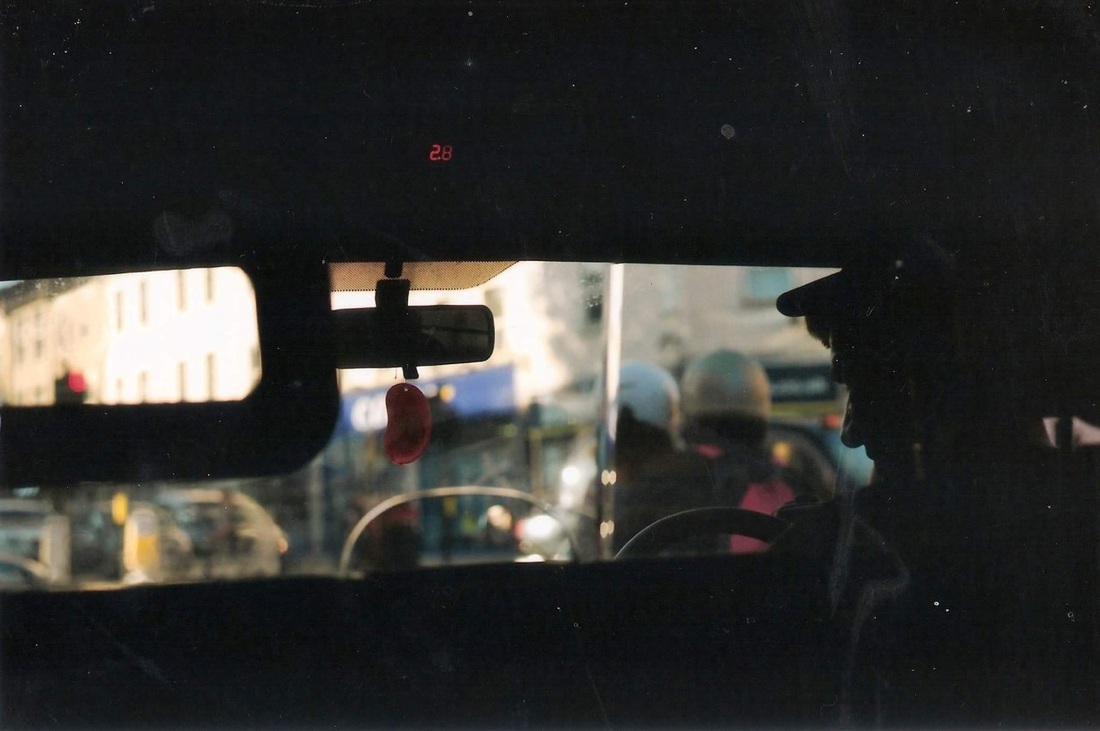
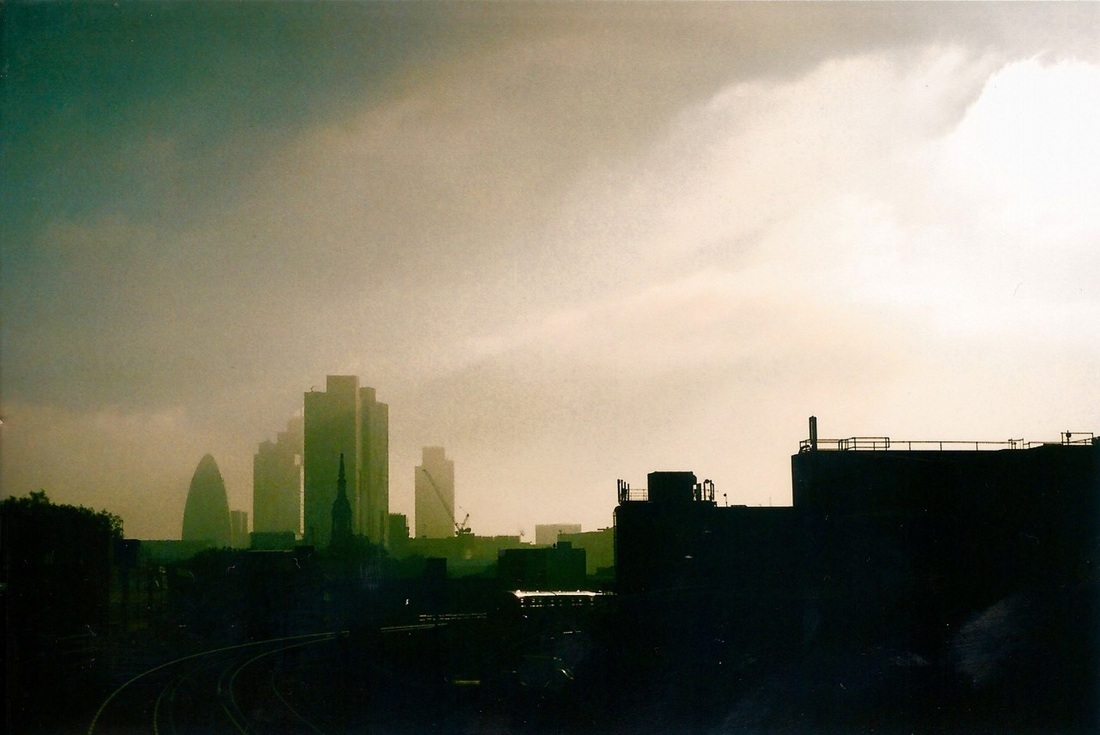
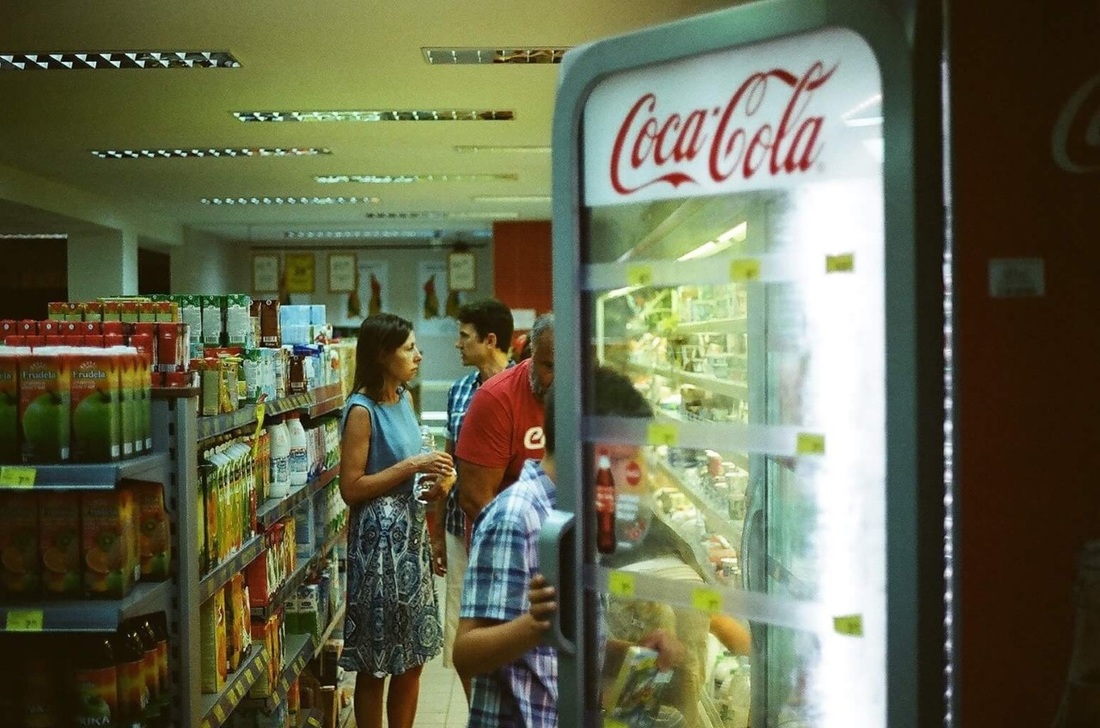
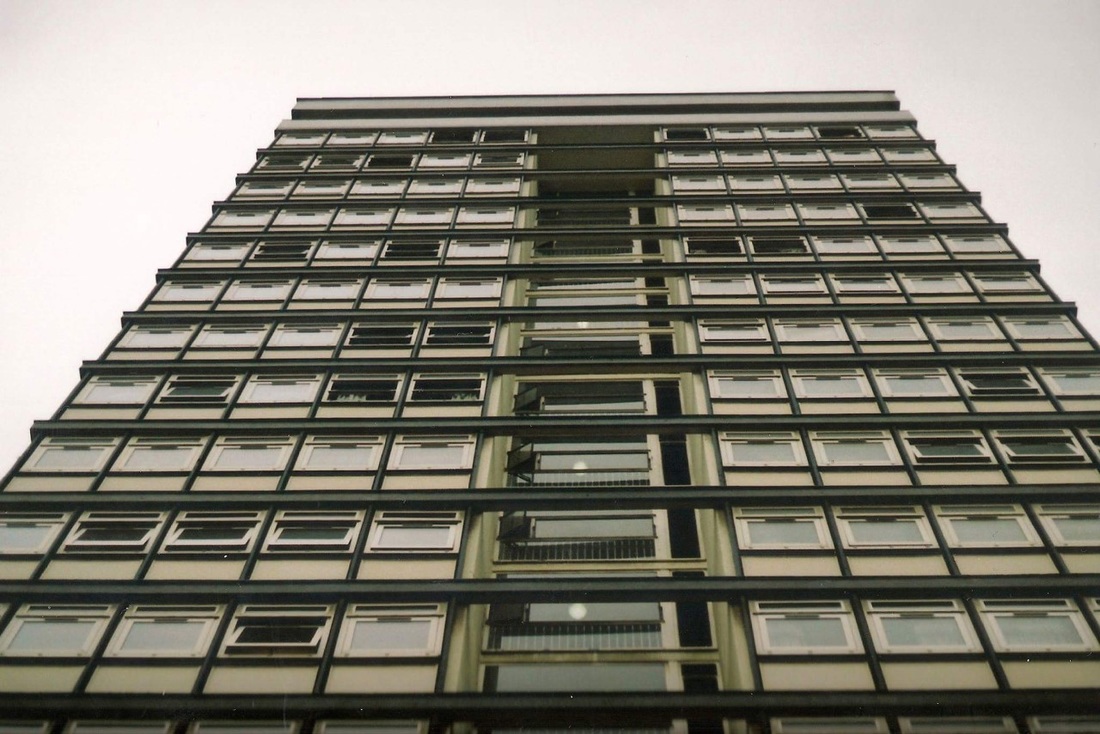
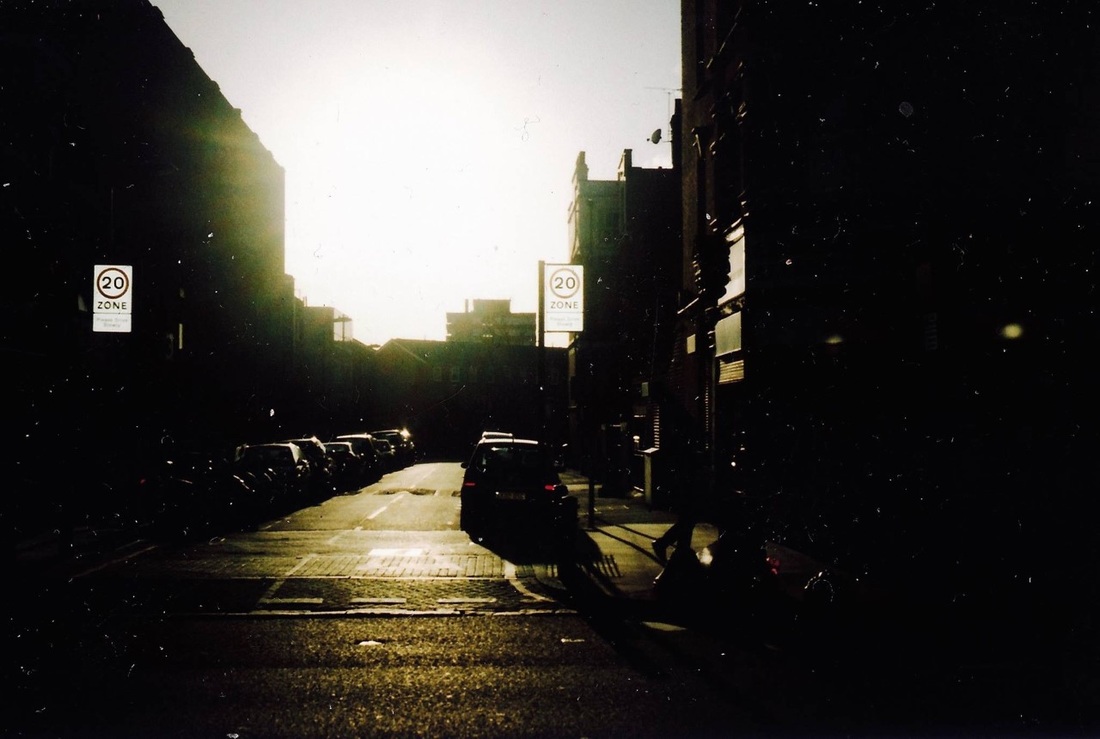
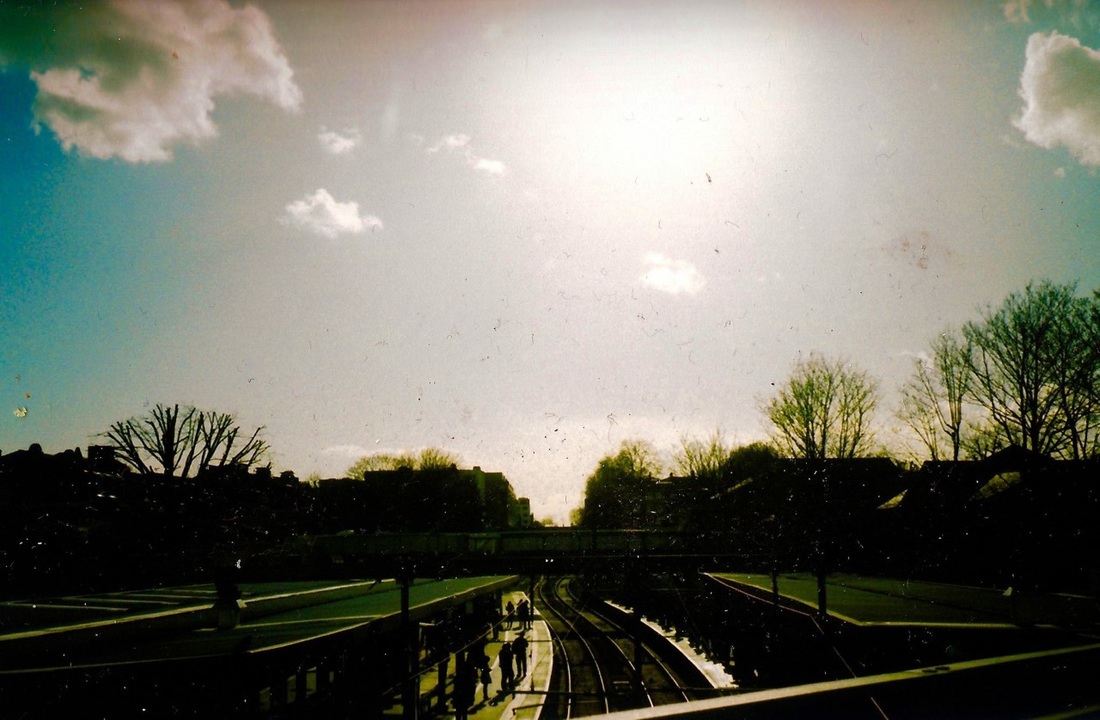
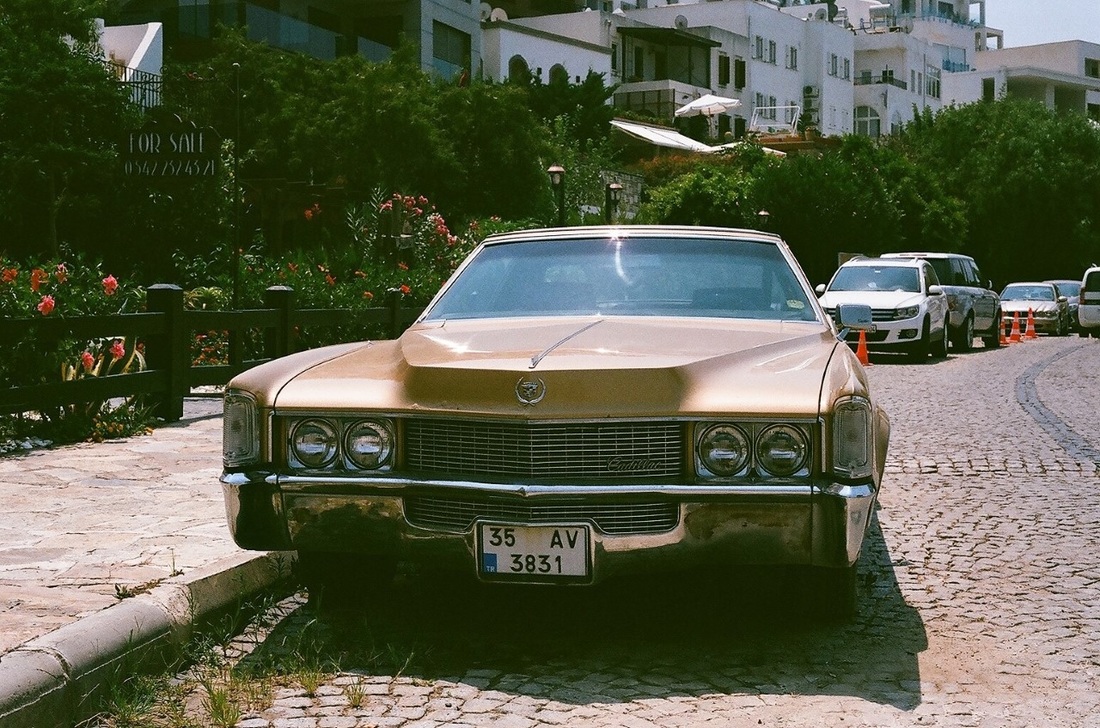
Homework Task : 10 Pictures
For this task, I had to take a series of 10 photographs that I felt gave my classmates an insight to who I am as a person and what interests me. I decided that I would take pictures on a film camera as I really enjoy shooting with rolls of film. The look I tend to go for when shooting on film are dramatic and cinematic types of photography.
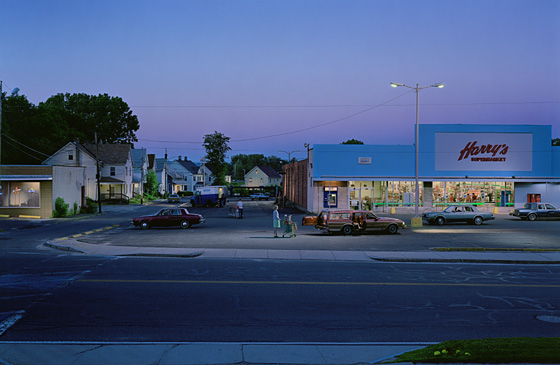
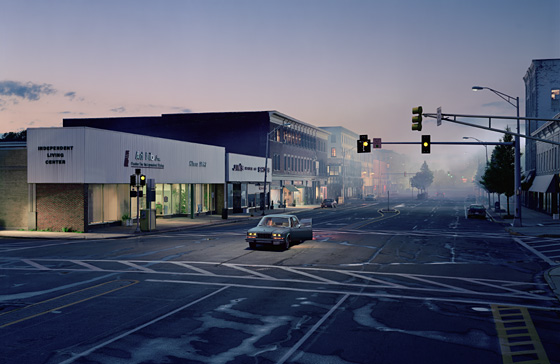
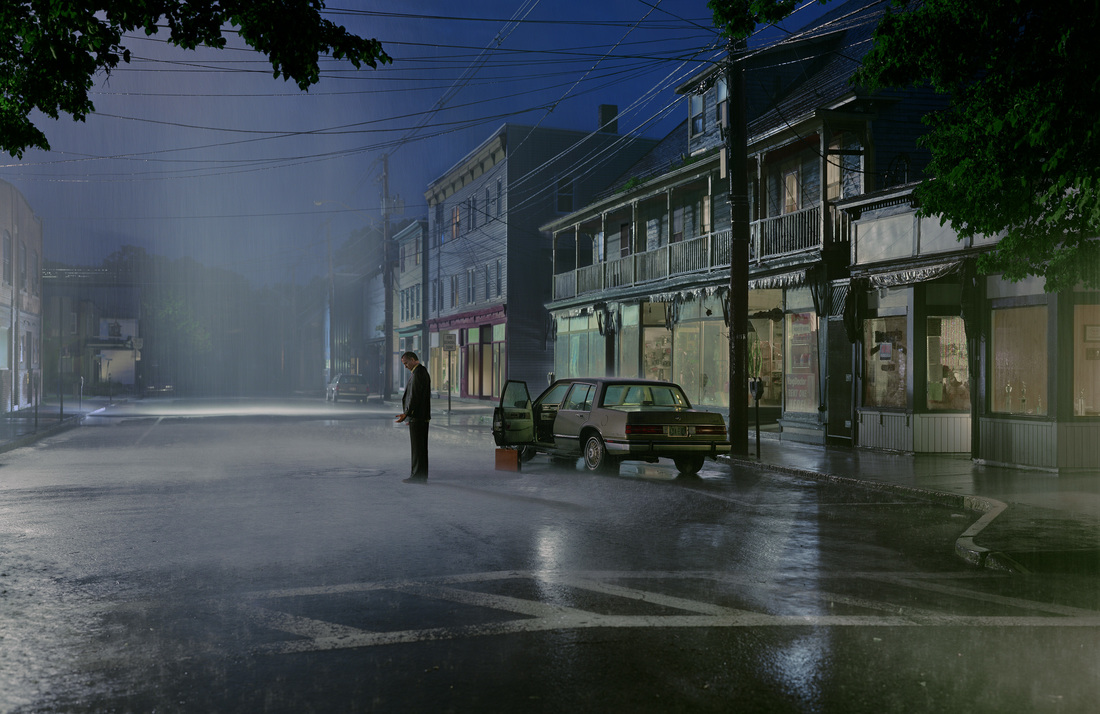
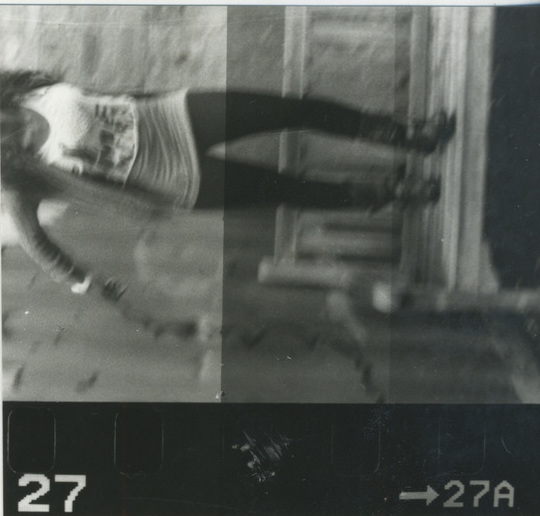
An Artist that really inspires me when shooting with a 35mm camera is Gregory Crewdson. Crewdson photographs tableaux of American neighbourhoods and homes.
EXAMPLES OF GREGORY CREWDSON'S WORK
An Artist that really inspires me when shooting with a 35mm camera is Gregory Crewdson. Crewdson photographs tableaux of American neighbourhoods and homes.
EXAMPLES OF GREGORY CREWDSON'S WORK
|
|
MY RESPONSE:
|
|
|
|

|
|
|

|
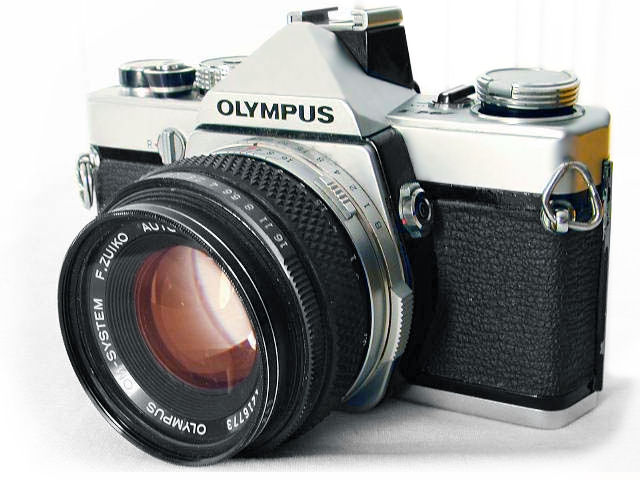
The 35mm SLR Film Camera
|
A 35mm Single-Lens Reflex (SLR) Camera is a camera that uses a mirror and prism system (hence "reflex", from the mirror's reflection) that allows the photographer to look through the lens and see what exactly will be captured. With Twins Lens Reflex and Rangefinder Cameras the viewed image could be significantly different from the final image. Once the shutter button is pressed on a mechanical SLR the mirror then flips out of the light path which allows light to pass through to the light receptor, allowing the image to be captured.
|
Main settings on an SLR Camera:
|

|
|
Focal Length
The perspective accomplished by the lens is known as Focal Length. This is measured in millimeters (mm). A standard 50mm lens gives the same perspective as the human eye. Lenses that have a shorted focal length (eg 18-50mm lens) will result in a wide angle perspective. A very wide angle lens would create fish-eye effect and would also look distorted. Any focal lengths over 50mm will aggravate the scene and is known as a Telephoto Lens. Zoom Lenses Certain lenses allow us to see a range between focal lengths. These are known as 'Zoom Lenses'. Focus When taking a photo, it is important to focus on your subject. On a film camera, this is usually the most remote ring on your lens and measured in feet or metres. |
Exposure
In Photography, there are two forms of Exposure. The two being under-exposed and over-exposed. An under-exposed image is very dark, if not too dark and an over-exposed image is too light. Sometimes a particular scene that you are shooting in may could have too much contrast which means that it will not be possible to get a nice and even exposure from a lone shot. Sometimes, a photographer may decide to either over or under expose an image to create a climatic shot. Shutter Speed The Shutter Speed setting regulates how fast the cameras shutter opens and closes when taking a photo. Using a long shutter speed means the shutter is open for more time which results in letting more exposure and light into the photograph. If the shutter is open for too long then the image will come out over-exposed. |
Aperture
Aperture determines how much light is exposed in the shot. The lower numbers mean more light exposure. For example, if you are shooting in low light locations then F/2.8 is a perfect setting for this situation. If you are shooting in a location with a lot of natural light then a setting of F/16 is optimal as only a little bit of light will be let in. Depth Of Field (DOF) The aperture setting has an impact on the extent of focal range that is in focus in front and behind the subject in the photo. This is known as the Depth of Field. |
35mm Black & White Film Shoot
For this task, I got a film camera and went around to some of my favourite places in my local area. Once I had done this, I went to the darkroom, took out my roll of film and developed the images that I had taken, as well as making a Contact Sheet. In order to do develop my film myself, I had to learn how to do so. The following section describes how I did that.
Learning how to develop Black & White Film
It is recommended that if you are developing your first film then the ilford chemicals that are below are recommended by many people. They are easy to mix and use because they are supplied in liquid form. They're all available in small bottles so they are economical if you process films only occasionally.
ILFORD ILFOTEC DD–X Developer is used to make the image appear on the film. You should mix up only as much Gilford ilfotec dd-x developer as you need to completely cover the spiral in the developing tank with solution: it is important that you pour the used solution down the drain after processing your film.
ILFORD ILFOSTOP Stop Bath is what brings development to an end, and continues the life of the fixer. Ilford Ilfostop works quickly, and after processing you can store it to use again.
ILFORD RAPID FIXER is what makes the developed image permanent. Ilford Rapid Fixer works very quickly, and after processing you can store it to use again.
Step by step process:
1) To process one 35mm film, I had to mix the developer. I poured 60ml of ILFOTEC DD–X into a measuring cup. The dilution needed is 1+4, so I then poured 240ml of water into a large 600ml size cylinder. Once I had done this I poured the solution into the tank with the film in. I then set the timer to 9minutes and 25 seconds (which was the amount of time required for the developer to be in the tank for).
2) Once the sealing cap was sealed tightly, I then turned the tank up and down repeatedly four times every minute to agitate the developer. However, each time I agitated the tank I had to tap it on the workbench three times to remove any air bubbles that may have formed on the film.
3) I then poured the Developer out of the tank and into a drain then poured the Ilfostop Stop Bath Solution into the tank. I then carried onto agitate the tank by turning it upside down four more times. After two minutes went by, I reset the timer and poured the Fixer into the tank for a further 6 minutes, as well as agitating and tapping the tank every 1 minute.
4) By the time I got to this stage, the film was fixed so I could remove the tanks lid. I then washed the film with the tap running for around 5/10 minutes.
Once I had done this, I took out my roll of film, developed my film and then enlarged the images that I had taken, as well as making a Contact Sheet. A Contact Sheet is a piece of photographic paper which has several or all of the negatives on a film that have been contact-printed. The Contact Sheet is usually described as a Photographer's sketch book. It concludes of those moments that are full of exploration, waiting for a certain display to evolve before the final moment.
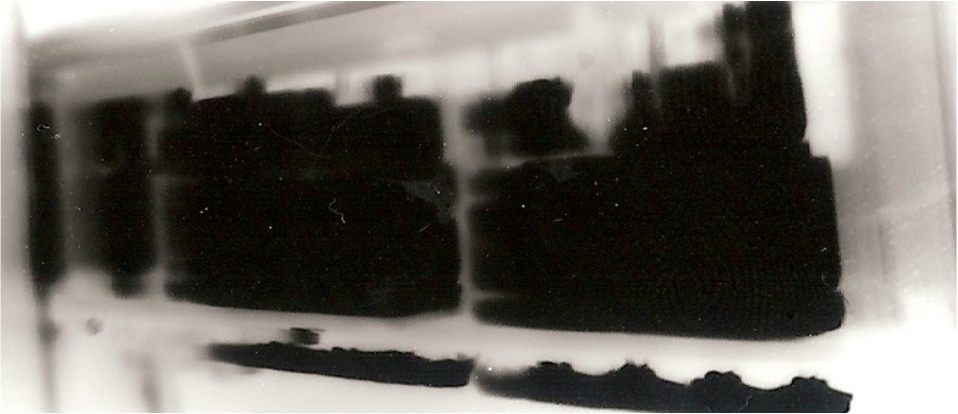
My Test Strip:
Before I enlarged each individual photograph, I decided to do a test strip on two of my photos so I could decide on the time of how long I should expose the image for. To make a test strip, I got a piece of plain black paper and exposed 2/3cm of the photographic paper every 0.5 seconds. This technique meant that I would be able to see how bright/dark the image gets when I expose the image for a slow/long period of time.
Learning how to develop Black & White Film
It is recommended that if you are developing your first film then the ilford chemicals that are below are recommended by many people. They are easy to mix and use because they are supplied in liquid form. They're all available in small bottles so they are economical if you process films only occasionally.
ILFORD ILFOTEC DD–X Developer is used to make the image appear on the film. You should mix up only as much Gilford ilfotec dd-x developer as you need to completely cover the spiral in the developing tank with solution: it is important that you pour the used solution down the drain after processing your film.
ILFORD ILFOSTOP Stop Bath is what brings development to an end, and continues the life of the fixer. Ilford Ilfostop works quickly, and after processing you can store it to use again.
ILFORD RAPID FIXER is what makes the developed image permanent. Ilford Rapid Fixer works very quickly, and after processing you can store it to use again.
Step by step process:
1) To process one 35mm film, I had to mix the developer. I poured 60ml of ILFOTEC DD–X into a measuring cup. The dilution needed is 1+4, so I then poured 240ml of water into a large 600ml size cylinder. Once I had done this I poured the solution into the tank with the film in. I then set the timer to 9minutes and 25 seconds (which was the amount of time required for the developer to be in the tank for).
2) Once the sealing cap was sealed tightly, I then turned the tank up and down repeatedly four times every minute to agitate the developer. However, each time I agitated the tank I had to tap it on the workbench three times to remove any air bubbles that may have formed on the film.
3) I then poured the Developer out of the tank and into a drain then poured the Ilfostop Stop Bath Solution into the tank. I then carried onto agitate the tank by turning it upside down four more times. After two minutes went by, I reset the timer and poured the Fixer into the tank for a further 6 minutes, as well as agitating and tapping the tank every 1 minute.
4) By the time I got to this stage, the film was fixed so I could remove the tanks lid. I then washed the film with the tap running for around 5/10 minutes.
Once I had done this, I took out my roll of film, developed my film and then enlarged the images that I had taken, as well as making a Contact Sheet. A Contact Sheet is a piece of photographic paper which has several or all of the negatives on a film that have been contact-printed. The Contact Sheet is usually described as a Photographer's sketch book. It concludes of those moments that are full of exploration, waiting for a certain display to evolve before the final moment.
My Test Strip:
Before I enlarged each individual photograph, I decided to do a test strip on two of my photos so I could decide on the time of how long I should expose the image for. To make a test strip, I got a piece of plain black paper and exposed 2/3cm of the photographic paper every 0.5 seconds. This technique meant that I would be able to see how bright/dark the image gets when I expose the image for a slow/long period of time.
|
My Contact Sheet:
Individual Developed Selects
How to enlarge individual negatives:
You will need an enlarger, an enlarging lens, a film carrier, a timer, a paper easel, a safe light, four trays, paper developer, stop bath, and fixer.
Put the film into the carrier and put that in the film stage of the enlarger. Turn on the safe light and turn off the white lights. Turn on the timer so that the enlarger light is ON and raise / lower the enlarger head until the image covers the paper. Focus the image onto the easel. Turn off the timer from the "on" setting. Stop down the enlarging lens to f/8. Put a piece of paper into the easel.
Set the timer for however many seconds your test strip had proven for you to do. Push the timer button and let the paper expose for x amount of seconds.
Develop the paper for 2 minutes in the Developer bath, put it in stop bath for 1 minute, and fix it for 3 minutes. Then transfer the print to the 4th tray filled with water for around 5 minutes.
